A közmondások a világ számos kultúrájában és társadalomában fontosak. Ezek rövid mondások, amelyek gyakran a józan észen vagy a kulturális bölcsességen alapulnak, és iránymutatást vagy betekintést nyújtanak az élet különböző területeibe. Íme néhány kulcsszó, amelyek kiemelik a közmondások fontosságát: Bölcsesség: A közmondások arról ismertek, hogy mély és gyakorlatias bölcsességet tudnak tömören és emlékezetesen közvetíteni. Kultúra: A közmondások gyakran mélyen gyökereznek egy közösség vagy társadalom kultúrájában és hagyományaiban, és a fontos értékek és hiedelmek egyik generációról a másikra való továbbadásának módjaként szolgálnak. Oktatás: A közmondásokat gyakran használják tanítási eszközként az osztálytermekben és más oktatási környezetben, mivel ezek segítségével egyszerű és hozzáférhető módon közvetíthetők összetett ötletek. Kommunikáció: A közmondások hatékony eszközei lehetnek a hatékony kommunikációnak, segítve a fontos üzenetek és ötletek tömör és emlékezetes közvetítését. Inspiráció: A közmondások sok ember számára ihletforrást jelenthetnek, útmutatást és támogatást kínálva az élet kihívásai és lehetőségei között. Összességében elmondható, hogy a közmondások értékes és fontos részei számos kultúrának, és hatékony eszközei lehetnek a kommunikációnak, az oktatásnak és az inspirációnak.
Szeretnék néhány bölcs szót megosztani veled tudásod fejlesztése érdekében.
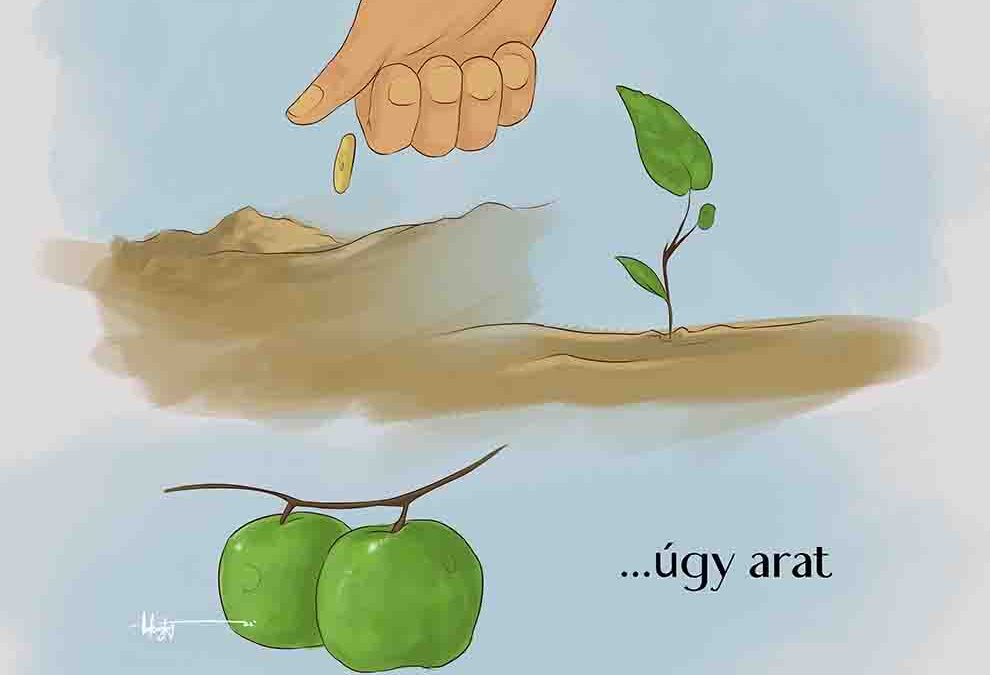
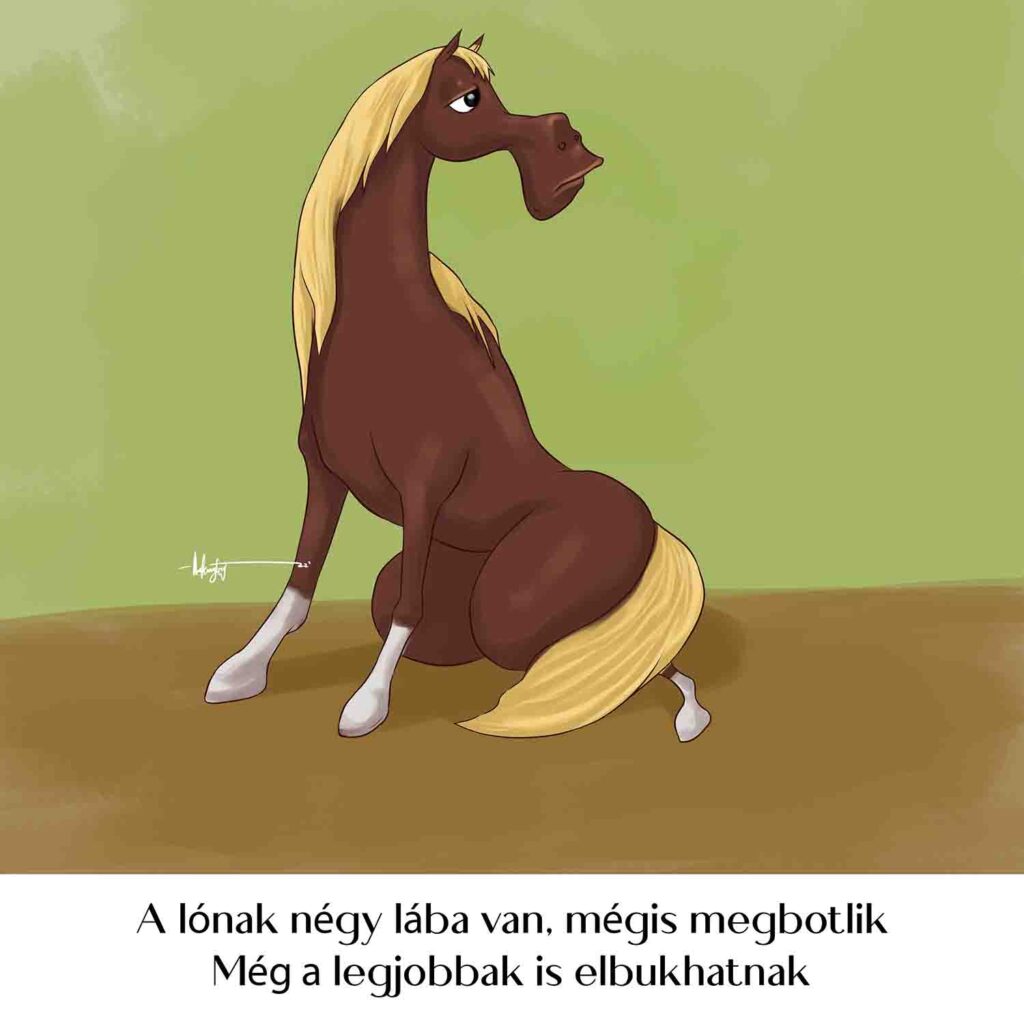
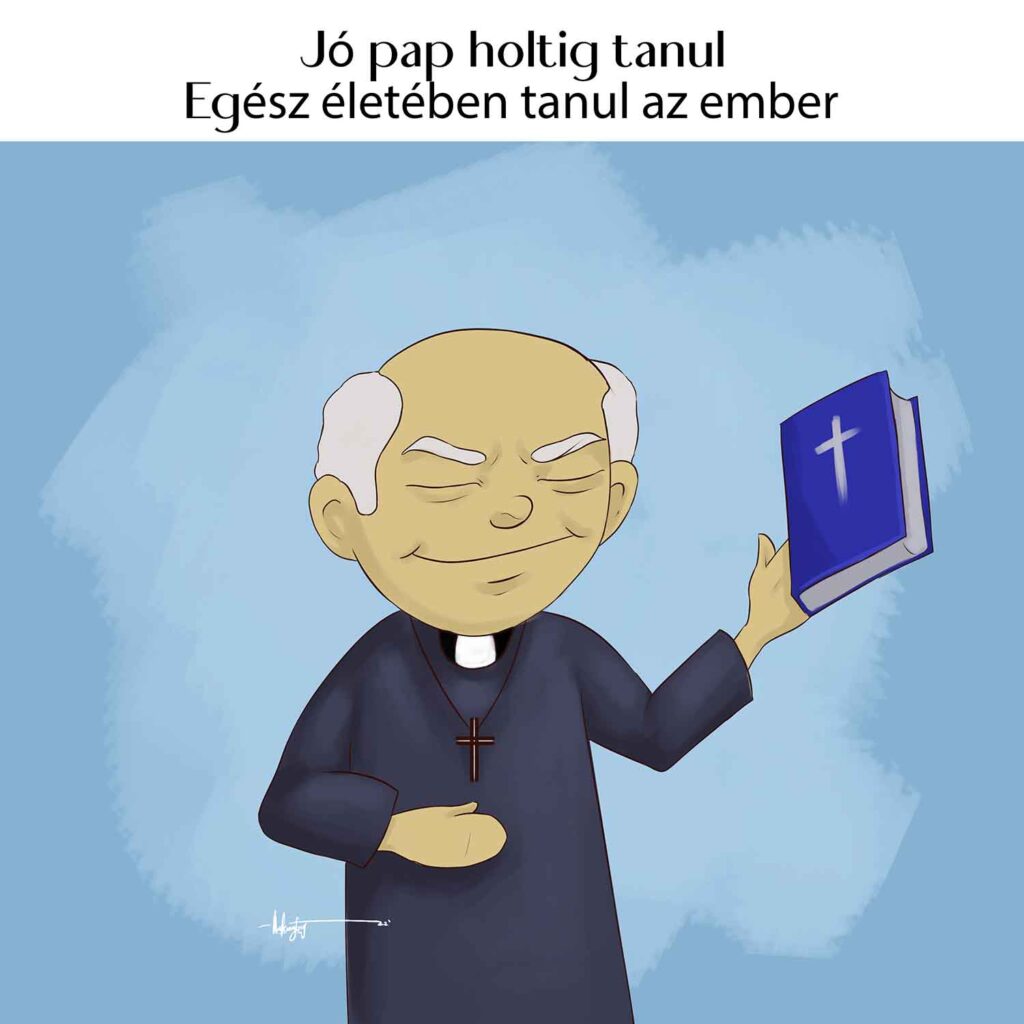
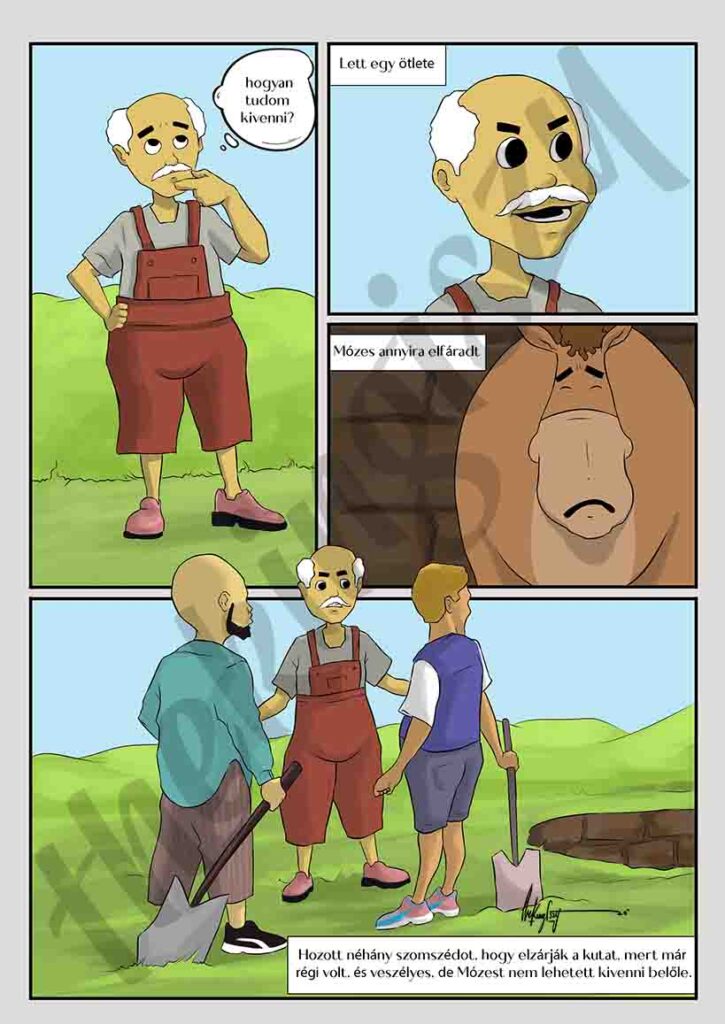
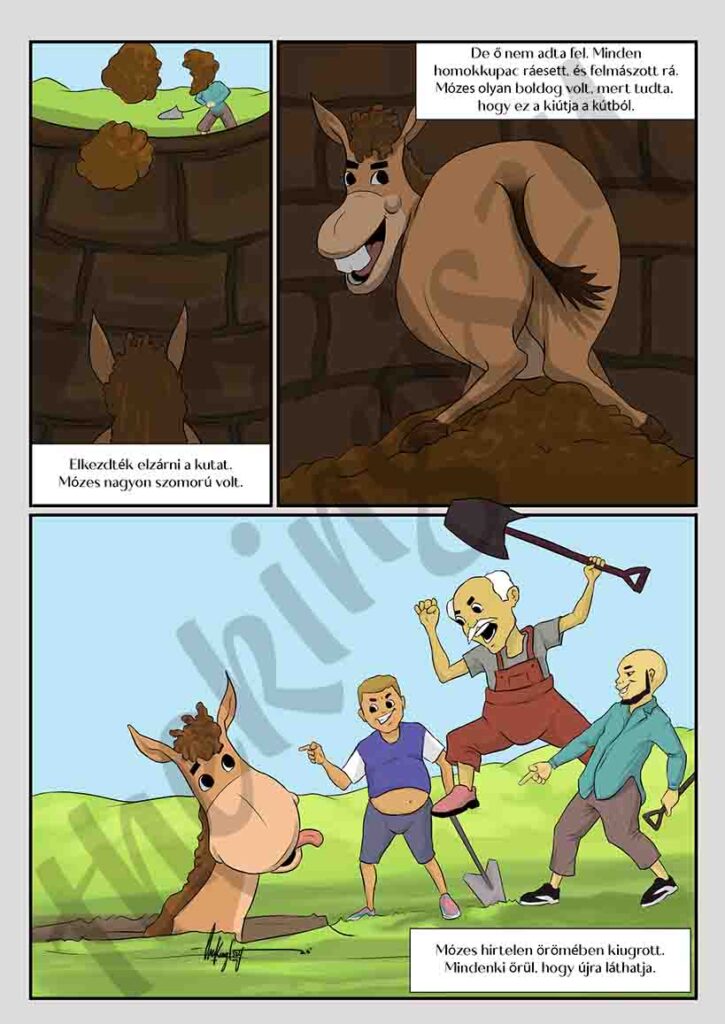
Ez a képregény elsősorban minden korosztály számára készült, de a gyerekek többet profitálnak belőle. Inkább gyerekkönyv-illusztrációnak tűnik, és továbbra is minden korosztály számára élvezhető. Ennek a történetnek az a célja, hogy befolyásolja az erkölcsi megértést. Az erkölcsi történetek fontos szerepet játszanak az ember jellemének és értékrendjének kialakulásában. Hatékony eszközt jelentenek az erkölcsi leckék átadására, és arra, hogy megtanítanak minket a jóról és a rosszról. Erényre és értékre tanítanak bennünket, segítenek személyiségünk fejlődésében, inspirálnak és motiválnak bennünket. Remélem tetszeni fog ez a gyönyörű történet. Észrevételeit nagyra értékeljük. További történetek hamarosan jelentkeznek.
Remélem tetszett a szép történet. Kérlek írj egy megjegyzést és oszd meg az oldalt. Köszönöm.
Drawing can be a good way to relax and meditate. I believe anyone can draw anything however, it depends on how much they can practice it. If you want to improve your drawing skills, then just practice. How to draw a church is not necessarily a simple one-way approach as there are various architectural designs of churches in general, however, I have used a more common building structure you will mostly encounter all over the world.
Drawing is a way of replicating a reference, or an idea using tools, and materials. In this article, I will specifically talk about drawing with pencils on cardboard however, these steps are very much applicable when using other materials in a drawing. Easy step-by-step action on how to draw a church.
This article is probably not for beginners. I hope you find it really handy.
1. Identify your reference
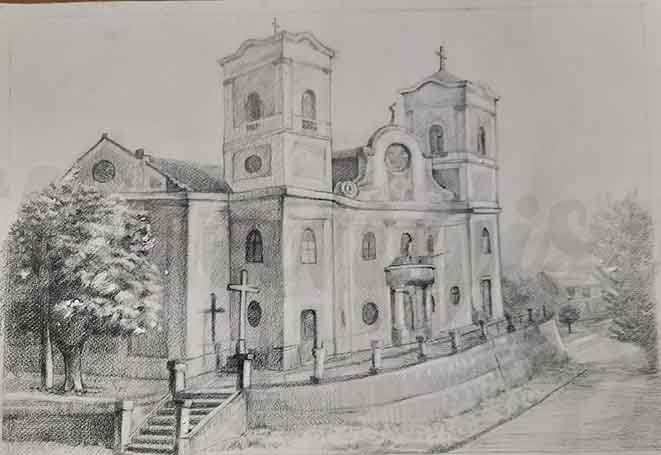
Select a church you would like to draw by taking a picture or sitting right in front of it. You should select a very good angle as it would reflect in your drawing how good your reference is. I will be using Szent Mihaly church as a reference for my drawing in this article. I chose a suitable angle that has a tree on both sides.
2. Prepare your materials
I will be drawing on a 59 by 84cm cardboard, well clip on my wooden board. I will draw in landscape format with well-sharpened pencils ranging from HB to 10B
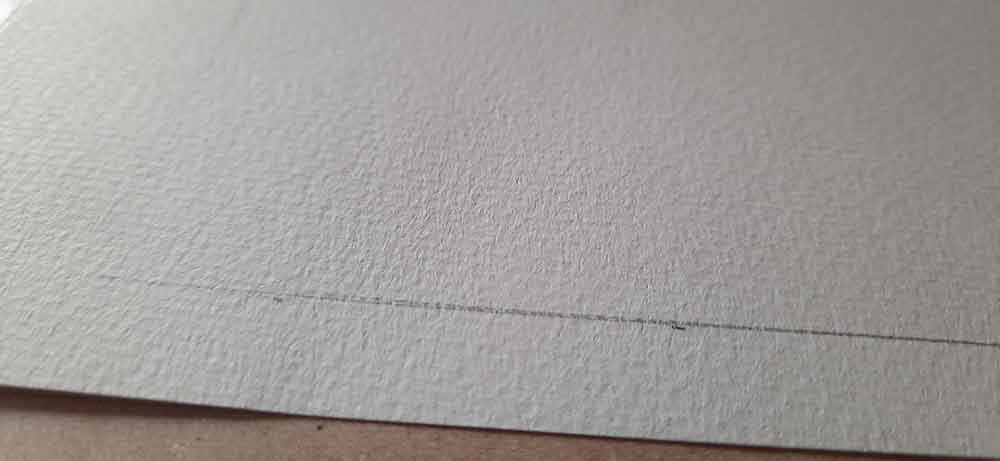
3. Create borderlines
Create a rectangular line that will serve as the area you want your drawing in. It will guide you while you draw.
Border lines
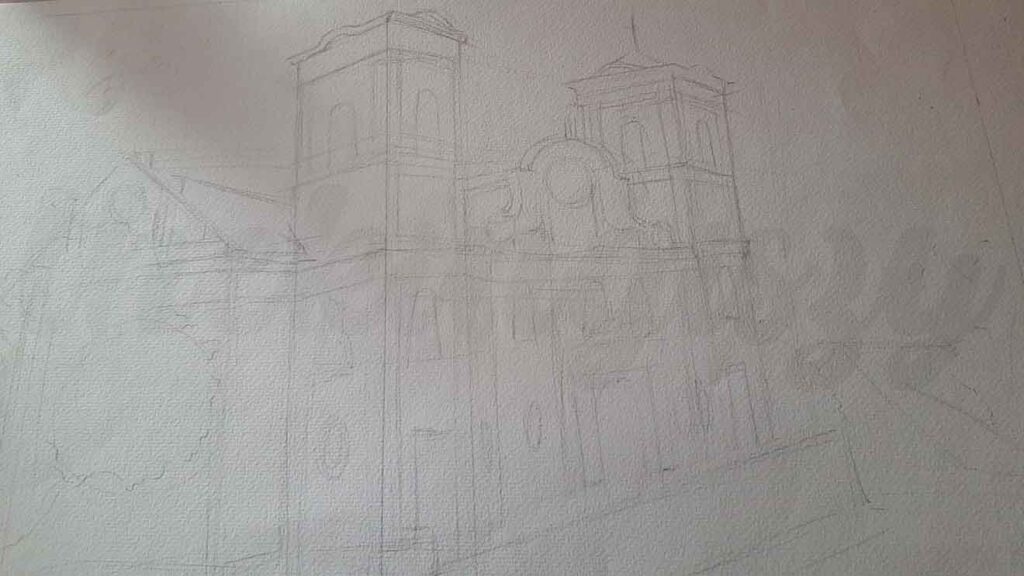
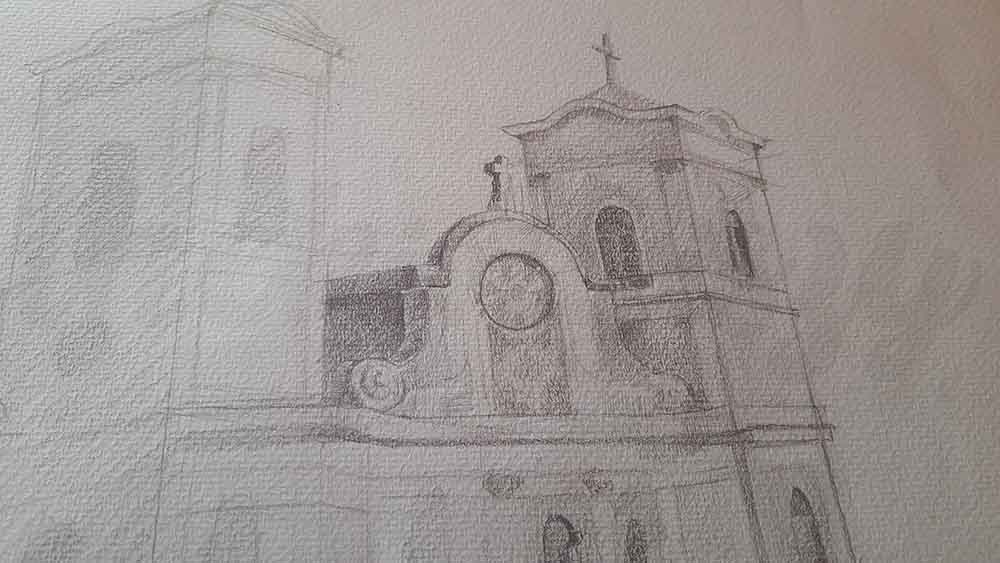
4. Draw simple sketches using shapes
Represent the overall reference with shapes. You must break everything down into different shapes to make it easier to understand. Be fluid and free in doing this. Use your lightest pencil to draw at this stage. It will boost your expressive confidence.
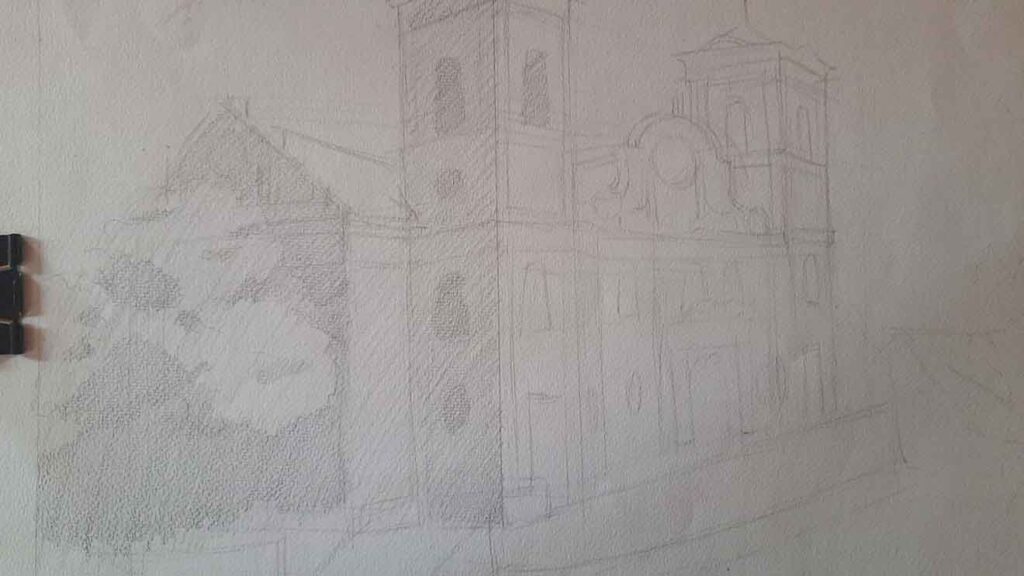
5. Light shading
Having drawn several shapes, shade all dark areas of the church lightly. Determine where the light areas of the drawing are and shade the dark areas. This step is like laying a strong foundation in a building. How well you do this will be reflected in your finished drawing.
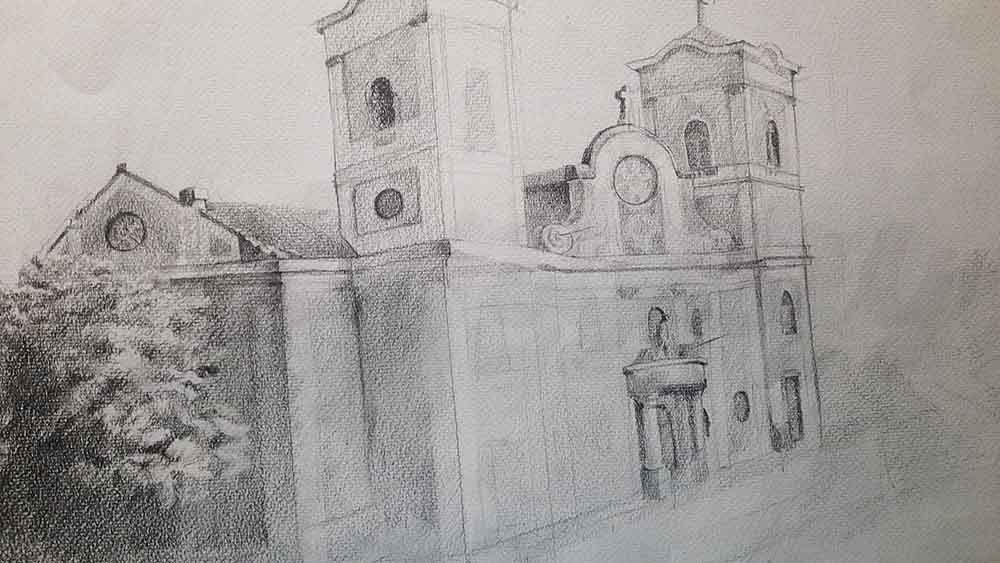
6. Start detailing
The next step is to start detailing. Detailing means increasing the tones of your shade in dark areas and light areas. Just as shown in the pictures, I began to shade the windows in the light areas, the design of the building, and even the tree in the darkest area of the reference.
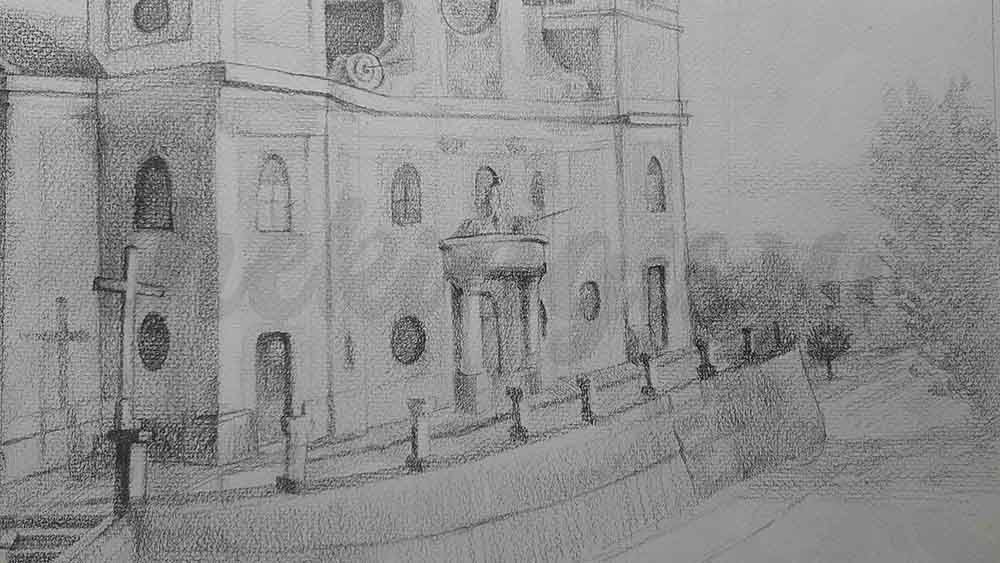
7. Define your dark areas
Make your dark areas more distinctive. It gives life to your drawing. Let there be a huge difference between your light and dark areas however, retain the forms of everything in your drawing while doing this.
8. Detail your light areas
The same way you have done with the dark areas, do with the light areas. Erase all unwanted strokes and carefully shade the forms and lines of this area.
9. Finishing
Make overall adjustments to the work. Erase unwanted strokes, create highlights, and make the drawing look as real as you can.
You can watch a video of this process on my youtube channel.
This process works for many landscape drawings and with practice, this will guide you to draw more freely and accurately. Thank you for reading through the steps I used to achieve this drawing.


Leave a Reply